Posted in Scrapbook Layouts

What I’ve Been Doing…

Or why you haven’t heard from me in a few days…

My pile of projects got pushed aside by a deadline. A couple of deadlines, actually. I have been working on creations for designer submissions. This an area, though I have been scrapbooking for many years, I have never ventured into. I don’t know yet, where this will lead, or what the results will be, but it took me out of my comfort zone and stirred my creativity.

Today’s gratitude: you’re never too young or too old to learn new things about the world and yourself!!

So my point… jump off that cliff. You may not know where you will land, but the ride down might be fantastic and it could change your life!


Posted in Scrapbook Layouts

Seasonal Inspiration

Speaking of Fall…grateful for the awesome display of God’s beauty and bounty this season. Walking Maggie the other day we passed a pond on our regular route. The angle of the sun made dapples across the water which gave me an idea for a layout!!

In 2015 I made a layout for a class where I used ribbon as an embellishment for the negative space in a title.

Fall 2015

I’ve been playing around with distress markers and love the rich colors they can create. Perfect for a fall inspired layout! Using a Cricut I cut a title from kraft cardstock. It’s important to choose a font with fairly large open areas in the letters. I made my title to fit a 12″w X 4″h area.
Cricut title

Cut a piece of watercolor paper the slightly larger than your cardstock title piece. Choose several rich fall colored Distress Inks and, using the side of  the pen, color watercolor paper in random areas. Don’t make the colored areas too linear!

Side colorLeave some white areas showing. It will fill in when it’s painted. Fill the entire length of the water color paper.

Colored In


Now comes the fun!! You’ll need a 1″ wide paintbrush and a spray bottle. Lightly spray water on a couple of inches of the paper you just colored and use a paint brush to gently wash the water across the paper. Clean your brush on a dry paper towel every few strokes but don’t worry about the colors mottling, as it adds to the “fall” feel of the finished project.

Splatter spray

Allow to your paper to dry, or if you’re impatient like I am, use a heat gun to speed up the process. If the paper begins to curl, turn it over and heat from the backside. Next, use the spray bottle to lightly spray water on the mat next to your project so only a few tiny droplets land on your water colored paper. Then place a clean paper towel over painted paper and blot gently to absorb droplets which will result in small dappled areas. Again allow paper to dry or dry with a heat gun.

Adhere cut title to dry decorated paper and use paper trimmer to cut off any extra edges, if desired. Your project is now ready to use for your scrapbook title!

Finished project

This title now screams fall! Great for a hiking, biking, or Thanksgiving layout.

Until next time, it’s always a GREAT time to scrapbook!!

Posted in Scrapbook Layouts

Class is in session…

Hello Readers,

I’d like to talk about scrapbooking inspiration. It comes in many forms; blogs, YouTube, publications, classes, Pinterest, websites, and conventions. Today I want to specifically discuss the inspiration that comes from other scrapbookers. I have a group of friends I’ve scrapbooked with twice a month for YEARS. Rarely, are we together that I don’t learn a tip, technique, or idea I can use on my own pages.

Recently, I took a class from one of my favorite scrapbook instructors Cathy Zielski. Though I am not as graphic in design, or hybrid as her style, I appreciate her penchant for simple scrapbooking and I tend to follow that philosophy on my own pages. It could be a result of scrapbooking life in a male-dominated family, or just that I’m not really much of a Foo-Foo kinda gal. This class was a repeat in topic of the class I had taken before, and though principles of design never change, technology, and products have, as did the layouts we did in class.

IMG_0515

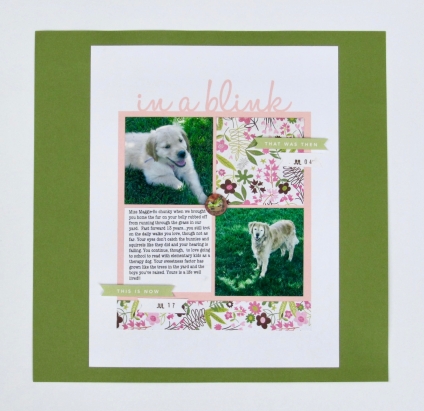
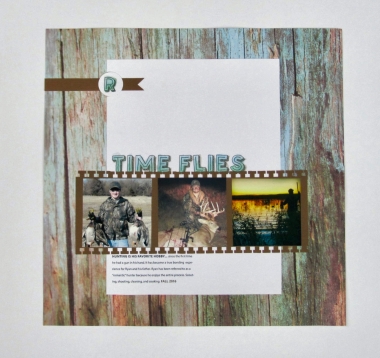
This was a layout to demonstrate balance. I used one old and one new photo of my precious Maggie. I have lately been on a mission to pull out old products and use them… so old patterned paper (one of my favorites), an old button, and a date stamp I haven’t used in a while, but used in a new way.

IMG_0511

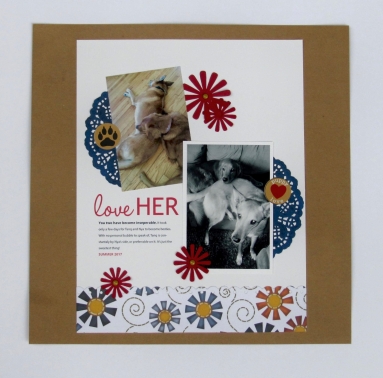
Again, with the old patterned paper and embellishments. Fairly new photos though, and the story is new. Stretching my use of doileys, and loving the color combination.

IMG_0509

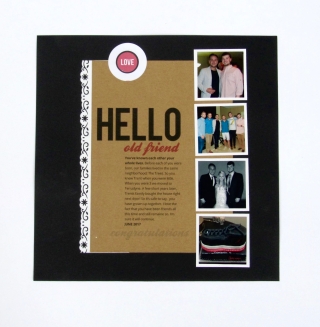
This paper was fairly new, but old photos were used to tell the story I wanted to tell. Also used a new product on the title… that one needs more practice. It’s a process, right?

IMG_0505 IMG_0502

New photos, new story, new layout, and a reminder of the joy of using smaller photos on a layout.

IMG_0497

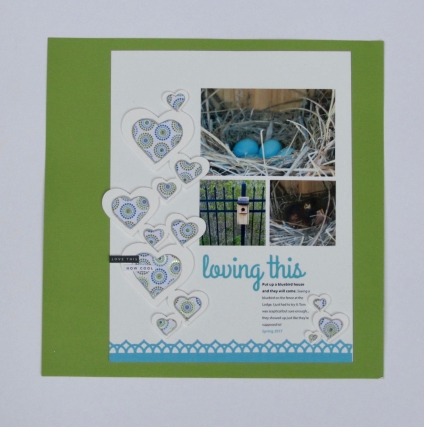
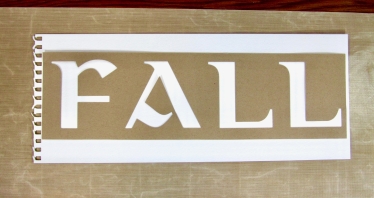
And a fun new way to use technology in cutting out these hearts with a downloaded file cut.

So my point… take a class and be inspired. Classes can be anywhere from pricey to free but they’re always an opportunity to learn something new. Even if you’ve taken the class before.

Until next time, It’s always a GREAT day to scrapbook!!
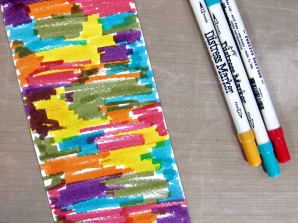
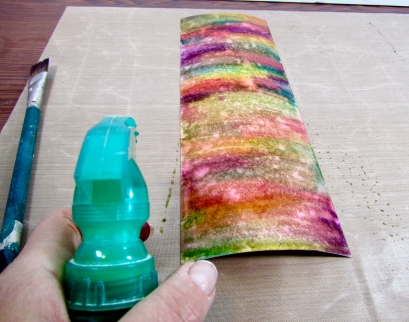
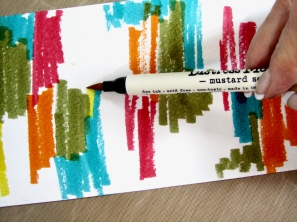
 

Posted in Scrapbook Layouts

Why I scrapbook

Hello Readers…

I believe our scrapbook pages do more than showcase our beloved pictures. They preserve a memory, creating their own place in our life’s history. Let me explain… when my youngest was an infant I received several small journals belonging to my great-grandmother which I read while nursing my son. The entries were fascinating snippets of her everyday life on a rural Tennessee farm. Included was information on the weather, how many eggs collected, what chores she did and how they were done. Noted were letters the postman brought twice each day, and the news they contained. G.G. listed each visitor, how long they stayed, births, marriages, illnesses, deaths. It was a journaled window into her life and times.

Three years later I was introduced to scrapbooking and decided my goal would be to document my own life and times. I’m fairly certain G.G. never thought anyone would read the journal entries she recorded every night, much less find them mesmerizing. So it is with my scrapbooking. I have two boys (formally known in this blog as NOS-Number One Son, and LA-Littlest Angel) who are now 26 and 24 respectively. I have been recording their lives for the last 21 years and rarely, do they pull a scrapbook off the shelf to flip through and travel down memory lane. That fact bothered me until I realized, I’m not scrapbooking for them at all. I scrapbook for me, and perhaps their children, grandchildren, or possibly great-grandchildren. I scrapbook so my own great-granddaughter may someday thrill to gaining a window into the life of a great-grandmother she may have never even met.

I also scrapbook for the creative outlet I discovered made life bearable years ago. Not to mention my girl tribe and support group I have been preserving memories with twice a month since before the millennium.

That’s the WHY…

The next plan is to show the HOW.  To explain some of my thought process, as well as, share some tips and tricks I’ve learned along the way and shared with my scrapbooking students.

To Be Continued…